Monday, September 25, 2006

Empennage


I worked some on the trailing edge of the rudder today. I went to the hardware store and came up with a 6' piece of angle aluminum that had 1" angles and 1/8" thick. I laid out the rudder on the angle and drilled and cleco'd the trailing edge to it. Once I had everything aligned I took it apart and cleaned all the surfaces really well with Naptha. I had Donna helping with this next step because I didn't have enough hands and coordination to do it alone. We spread a thin coat of epoxy on the rudder skin and also the AEX wedge. We cleco'd everything together using a pattern of inserting cleco's to make sure the trailing edge of the rudder was staying straight with the rigid angle aluminum. I was satisfied with the way it looked when we finished up. After about 30 minutes or so I wiped up the excess epoxy that squeezed out when we cleco'd the assembly together. That's the way I plan to leave it for the next 30 days so it will cure out and set up well. Also, since I'm leaving for my 28 day hitch in Africa tomorrow I won't have a chance to do anything anyway. I'm sure that when I get back next month it will be set up well and should hold the 'straight' trailing edge when I do the double flush riveting.

2 Hours

Total hours on project = 104

Saturday, September 23, 2006

Empennage


I started the process of riveting the rudder today. The first step was to install the reinforcement plates and platenuts on the spar. When I finished that step I moved on and riveted the R-904 rib and all it's associated parts together.

The next step was a little more complicated. the plans call for you to rivet the R-912 counterbalance rib to the R-902 spar. After doing that you rivet on the R-913 counterbalance skin to the counterbalance rib, but not to the spar. Then I installed the E-614-020 counterbalance weight.

The next step was to cleco the skins to the spar. With that done the plans are careful to note that there are six rivets on each side that join the R-901 skins and the R-913 counterbalance skin, and three that join the rib, counterbalance skin, and spar. There are different size rivet required for these and you have to be careful to use the right ones. Once I got these rivets set, the next step was to rivet on the R-903 tip rib. It gets pretty tight when setting some of these rivets so I opted to use the MK-319-BS 'pop' rivets on the ones without enough room to use the pneumatic squeezer.

The last thing I did today was to rivet the skin to the skeleton. My pneumatic squeezer worked well for most of these rivets, though I did have to change the yokes a few times to get the one that best suited the particular spot I was in. Once again, on the last rivet on the rib I used the pop rivet.

The next step in riveting the rudder is the trailing edge. The plans indicate that building a truely straight trailing edge is one the more difficult things to do in the empennage kit. I'll have to wait to attempt this. I need to get a good epoxy and a good 6' piece of angle aluminum to hold the edge straight while I make the 'double-flush' rivets.

6 Hours

Total hours on project = 102

Friday, September 22, 2006

Empennage

Since I got all the holes deburred yesterday I used my time today to dimple the skin, spar, and ribs. Once I got those holes done the instructions said to drill and dimple the aft three holes in the upper edge of the left and right R-901 skins to a #30 size. You're supposed to go ahead and do that step now since it would be nearly impossible to do later because the rudder is so narrow at that location. So that was pretty quick and easy to get done.

The next step was to drill the E-614-020 counterweight to the R-912 rib. There was a forward tooling hole in the R-912 rib that matched with the counterweight and I was able to use the aft hole in the counterweight as a guide. With the holes drilled I removed the counterweight and did a machine countersink of the holes for a #10 countersink screw. After that I deburred the holes in the R-912 rib and dimpled them for a #10 countersink screw.

The last thing I did on the project today was to machine countersink the holes on both sides of the R-916 rudder trailing edge. As the rivets in this piece will be double flush both sides had to be countersunk.

3 Hours

Total hours on project = 96

Thursday, September 21, 2006

Empennage


Today I disassembled the rudder assembly and deburred all the holes. Every piece, front and back. Seems like about a gazillion holes.

4 Hours

Total hours on project = 93

Wednesday, September 20, 2006

Empennage


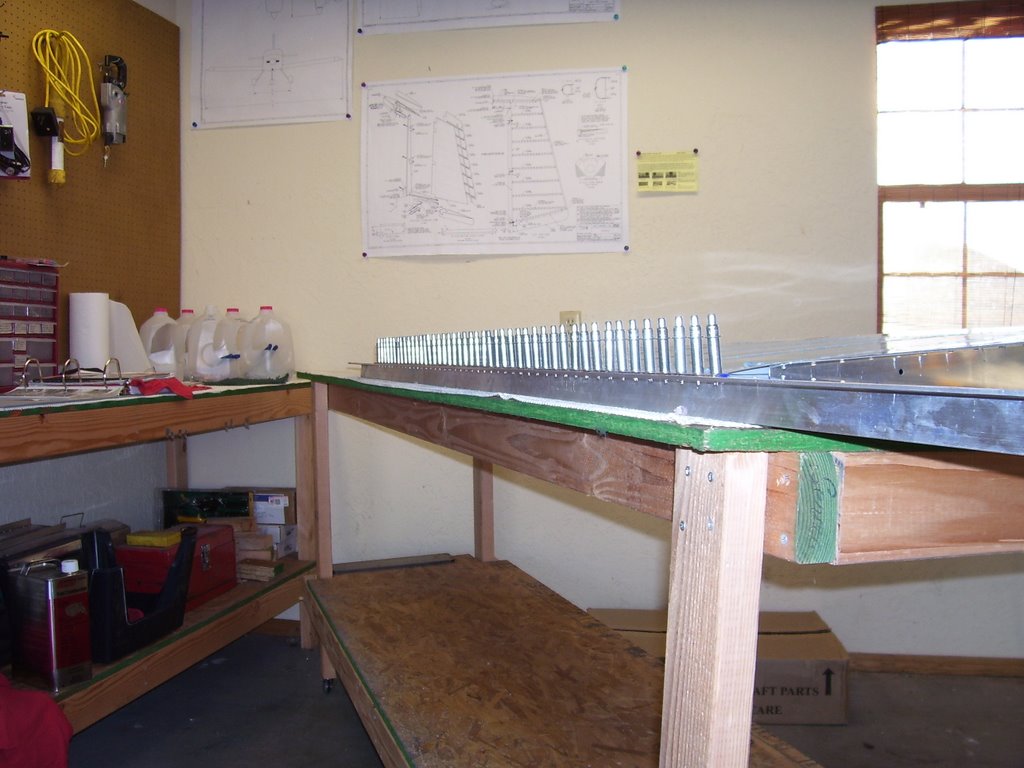
Today's efforts on the RV-7 kept me pretty busy. I got started on building the rudder skeleton in earnest. I had already cleco'd the R-904 bottom rib to the R-902 spar and enlarged the 0.125 hole in the center of rhe forward flange. The next step was to fabricate the R-917 shim out of the 0.032 material that came with the bundle of pieces of various sizes. The piece that I used was actually 40" long and 1 1/8" wide. I had to cut 3 1/2" of it off and then measure and drill 3 1/8" holes in the proper position as per the drawing.

Next I cleco'd the R-405PD rudder horn to the fudder spar and final drilled four holes through the upper edge of the rudder horn to #30 using the pre-punched holes in the spar as a guide. Then I cleco'd the rudder horn to the R-904 bottom rib to check the fit. It didn't very well so I had to use the Scotchbrite wheel to radius the top of the rudder horn unitl it would nest nicely in the radius of the rib flange.

Next, I Cleco'd the R-904 bottom rib and R-405PD rudder horn to the R-902 rudder spar. Then I slid the R-917 shim into place between the rudder spar and rudder horn and drilled it out to at #30 hole. Next step was to cleco the R-606PP, R-607PP, and R-608PP reinforcement plates to the R-902 rudder spar.

Moving on as per the plans, I fluted the R-903 tip rib and the R-912 counterbalance rib. With that done, I cleco'd them to the the top of the rudder spar and drilled to #30 holes. Then I cleco'd the R-913 counterbalance skin tothe R-903 tip rib and R-912 counterbalance rib. I match drilled to #40 holes the counterbalance skin to the ribs using the pre-punched holes in the R-913 counterbalance skin as a drill guide.

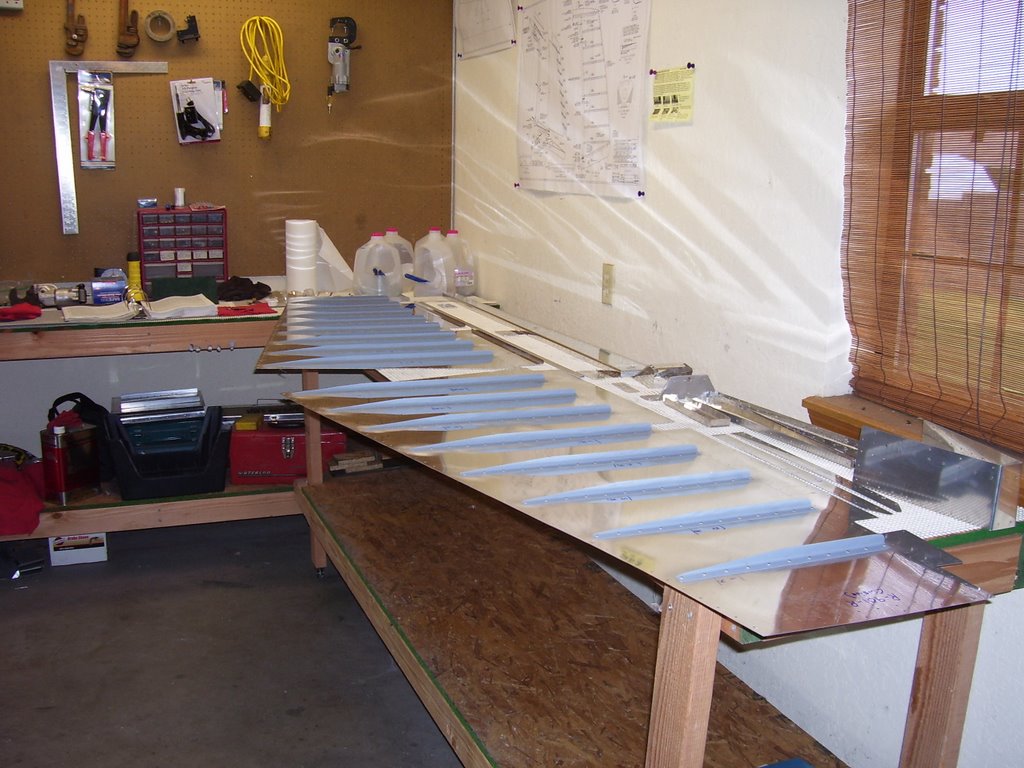
Now it was time to cleco the R-901R&L rudder skins to the ribs and spar. After that I fit the R-916 rudder trailing edge and cleco'd it into place. Then I drilled all the remaining holes in the rudder to the final size.

The next step was to trim the excess material from the R-710 rudder brace. After I got that done I fit it between the R-405PD and the R-904. The aft edge of the R-710 is cleco'd to the bottom of the R-904 and drilled to #30 holes. I matched drilled the forward edge of the R710 using the holes in the R-405PD as a drill guide.

Using the rest of the 0.032 material that I had used to make the R-917 shim, I made the R-918 rudder bottom attachment strips as shown on the drawing. These pieces are 18" long and have an angle on the forward end to fit to the R-710 rudder brace. When I finished makeing those pieces I used clamps to place them on the bottom of the rudder and drilled them by using the existing holes as drill guides.

It was a busy day.

5 Hours

Total hours on project = 89

Sunday, September 17, 2006

Empennage

Today I continued to work on the rudder assembly. I decided to go ahead and put a coat of primer on the stiffeners and while that was drying I used the DRDT-2 to dimple the rudder skins. The rudder skins are very thin and it didn't take much to create the proper dimple. In fact, I had to be extra careful not to put too much pressure on the handle while dimpling. I used the Back-Riveting technique to rivet the stiffeners to the skins. I put the rivets in place and then used a strip of rivet tape to hold them in place. Then I turned the skin over and placed the flush heads on a special plate of smooth steel. I used the special sliding sleeve rivet set in the gun to make the shop head. I turned the air pressure down to about 50 psi and then it only took about a second to set the AN426AD3-3 rivets to the right size. But I was real happy with the way the rivets turned out. Back-Riveting makes it easy to come out with a clean well set rivet. I still had some time to work in the shop so I continued to the next step, Building The Rudder Skeleton. I clecoed the Bottom Rib (R-904) to the Spar (R-902). Then I enlarged the 0.125 hole in the center of the forward flange of the R-904 to 3/8 with the UniBit by using the hole in R-902 as a guide.

4 Hours

Total hours on project = 84

Thursday, September 14, 2006

Empennage

Today I went to the airport and took my C150 out for some exercise. I flew over to my old base at Elk City (36 nm) and enjoyed a cup of coffee. Came on back to Weatherford and put the airplane back in the hangar.

I continued to work on the rudder assembly today. I matched drilled all the stiffeners to the rudder skins (232 holes). Then I disassembled the parts and deburred all the holes. That's front and back on all the stiffeners and both sides of each of the rudder skins. That's 928 holes that had to be deburred. Once I had deburred all the holes I used a Scotchbrite pad and 'polished' each of the holes to ensure that all the burrs were gone and the surface area was smooth for the best set when I rivet. With that done I adjusted the pneumatic squeezer and dimpled all the holes in the 16 stiffeners. I figured that was enough for today. Anyway, Donna was ready for me to get the grill out to cook some ribeyes.

4 Hours

Total hours on project = 80

Wednesday, September 13, 2006

Empennage


Today I got back on track with the project. Last Friday I had surgery on my left eye to implant a crystalens accommodating lens and I've been taking it easy and recuperating. My vision still isn't very good yet, but the doctor dilated my eye to prevent movement so the tissue of the eye can attach to the lens he implanted. It's supposed to be that way until this coming Friday or maybe Saturday. I have a checkup on Friday and if everything looks good to the doc then I'll get the right eye done on Monday.

But enough of that. Today I was beginning to get a little stir crazy so my cure for that is to work in the garage 'airplane factory'. The next assembly in the empennage is the rudder so I found all the parts I needed for this part of the project and got started. There are two skins for the rudder, the left and right. Also there are the rudder stiffeners that come in 8 pieces. The job today was to trim individual stiffeners from strips consisting of two stiffeners. So you have to make two stiffeners from each of the eight strips supplied with the kit. Fortunately I've got some experience with this exercise as it is very similiar to the practice kit that Donna and I built at the Sheet Metal School with Geroge Orndorf. As I also had ordered one from Van's I did a second one when I got back from the school. There was a note in the plans to make sure that you fit the stiffeners to the inside of the skins. I reckon it must be pretty easy to get them backwards if you're not careful. So, that's how I spent the afternoon, trimming and fitting the stiffeners to the rudder skins.

5 Hours

Total hours on project = 76

Wednesday, September 06, 2006

Empennage


The Vertical Stabilizer is complete! Today I riveted the rear spar to the assembly that I finished yesterday. That completes the Vertical Stabilizer, the second major sub-assembly of the RV-7 Project.

1 Hour

Total hours on project - 71

Tuesday, September 05, 2006

Empennage


Spent the afternoon getting all the dimples done in both the skin and all the ribs and spars. I put a coat of primer on the rear spar stiffener. Once that was done I went ahead and riveted the rear spar together with the hinge brackets and the stiffener. The next step was to rivet the ribs to the front spar. All these steps were fairly simple and though it took a little time to get done it wasn't complicated. Then I clecoed the skin to the front spar assembly and called Donna out to lend a helping hand. We switched back and forth between shooting and bucking the rivets. Donna couldn't make up her mind which she wanted to do. When we got all the rivets in that we had to shoot and buck I was able to use the pneumatic squeezer to go around the edges to set those rivets. That just leaves the rear spar to be riveted to the assembly to complete the Vertical Stabilizer. I should be able to finish that up tomorrow morning.

4 Hours

Total Hours on Project = 70

Monday, September 04, 2006

Empennage


I assembled the Vertical Stabilizer today. Actually it was a fairly simple process of putting the pieces together. The next step was to final drill all the holes to the correct size on both spars, all the ribs, and the skin. With that done I had to take everything apart and deburr the holes. That's a lot of putting todether and taking apart.

4 Hours

Total hours on project = 66

Saturday, September 02, 2006

Empennage


I got back from my 28 work days in Africa last Thursday evening. I had to go to the doctor in Oklahoma City on Friday to check into the Lazik surgery to correct my vision. Turns out my cornea is too thin for the 'cheap' procedure and I've also go a hole in the retina in my right eye. So the result of the visit is that I'll have the hole repaired next Friday, September 8th, along with a lens replacement in my left eye. The new lens will give me 20/20 vision and I shouldn't have to wear reading glasses for the up close vision. With the follow-up care after the surgeries it will be November before I can get the lens replaced in my right eye to complete the process and have good sight in both eyes.

Jim came down to spend the holiday weekend with us and sure wanted to go flying today. Unfortunately the weather didn't cooperate and it rained most of the day with the clouds sitting about 800' above the ground. I was able to get most of the honey-do's done through the morning hours and then about 2:30 I got out in the garage to re-acquaint myself with the RV project.

I'm ready to start on the Vertical Stabilizer so I pulled out the parts for the rear spar. There are three sets of hinge brackts, a spar doubler, and the rear spar itself. After I got the new drawing hung up on the wall I noticed that there is an 'optional' step to cut out some holes to eliminate some weight. I've been told that you should take every opportunity to save weight so I decided to cut out the holes. Of course I didn't have the tools to do it with so that meant a trip to the harware store to get some hole saws. There are 2 - 2" holes to cut and 5 - 1.5" holes. So I had to by two different hole saws for the task. I got back home and marked the centerline and then the position of the center of each hole. I drilled some pilot holes and then moved on to the drill press. I arranged the belts on the drill press for the slowest possible speed which is 300 rpm on mine. The actual drilling went quickly and easily. I figured that was a good first step to get me back on track for for the project.

2 Hours

Total hours on project = 62 hours