Empennage
Well I finally got around to trying to make a start on the project today. Since I did the inventory the other day I got caught up in a bunch of honeydews and a trip to spend a couple of days with my son Jake and his wife April. When we made it back home I had another project that I had to get out of the way. My youngest son Jim had been to see us on the Mother's Day weekend and his 1990 Isuzu pickup was leaking oil in the worst way. When I asked him why he didn't get that fixed he said he thought he'd leave it with me. So he took the Mercury back to Tulsa with him and I have the Isuzu to work on. I looked it over and couldn't find the leak so I took it down to Mike's Auto Repair and left it with them. Two days and $161 later we have a pickup that doesn't leak oil anymore. Of all things, it was the fuel pumped that was the problem.
Anyway, today I got back in the shop and started looking around at the project and trying to figure out how to start. I pulled out my air tools and spent some time putting those in order. The rivet gun came with a beehive spring and it took me the longest time to figure out how the sets worked with that. I finally put the 'quck change' spring on and figured out real quick that was the way to go with that. Then I got out the air drill and decided to take the chuck off and install the keyless chuck that I bought. Before long I had that thing in about a dozen pieces and figured I had ruined it for sure. But a bunch of persistance paid off and I finally got it put back together. That's when I figured out that the chuck just screwed on. So I got that finished up and even tried out both of them and was proud to see that they worked just fine.
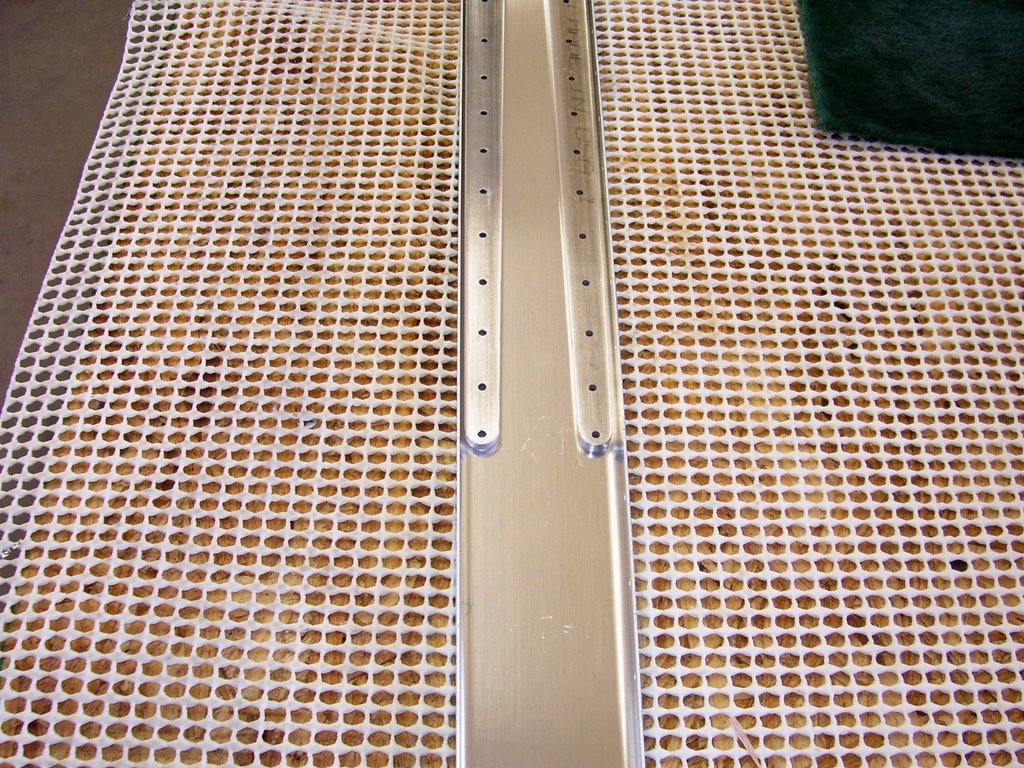
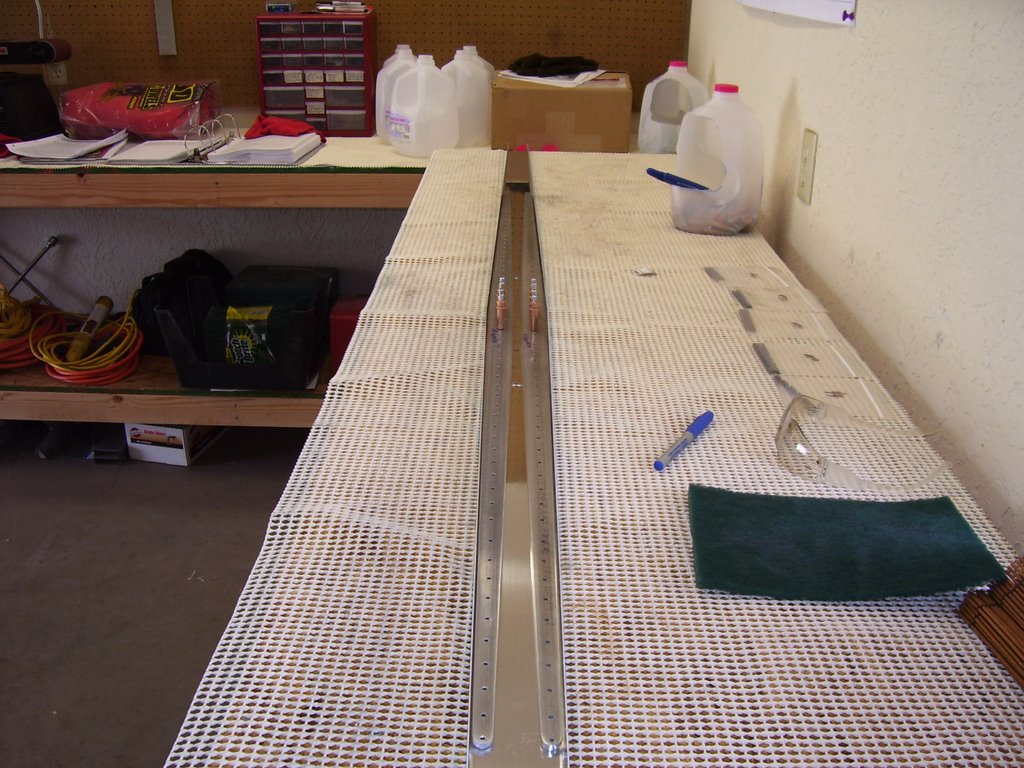
Then I got out the RV-7 plans and put the first two drawings up on the wall behind the workbench. I thought that would be a quick reference while I was working. Then I got the manual and started reading page 6-1 The Empennage. I located the parts that you start with and got to use the scotchbrite wheel to "break" the edges of the spar reinforcement bars. I messed with that until I was satisfied that they fit in the spar channels and everything was properly aligned. Then I spent the time to round the ends of the bars as shown in the drawing. I had been working in the shop for about five hours by then and decided to call it a day.
5 Hours
posted by G. C. Spencer at 3:41 PM
![]()


<< Home